


There are many solutions for offloading your website's transactional emails (password reset, new user registration, form submission, etc.) to a standalone SMTP service. While there are many valid reasons to use this system (protects your hosting IP address, eliminates server resources needed to handle email, etc.) there are still many site owners who don't take this next step. In this post, we will walk through the step-by-step process of setting up SparkPost with the SMTP Studio plugin.
Note: We have already talked about setting up MailGun and Amazon SES to perform the same transactional email SMTP tasks. SparkPost is simply another service option.
First, why use SparkPost? SparkPost is simple to setup. It also offers plenty of emails per month (100,000) at the free account level and has a wide variety of additional features and services that can be added to an account.
Creating a Free Account with SparkPost
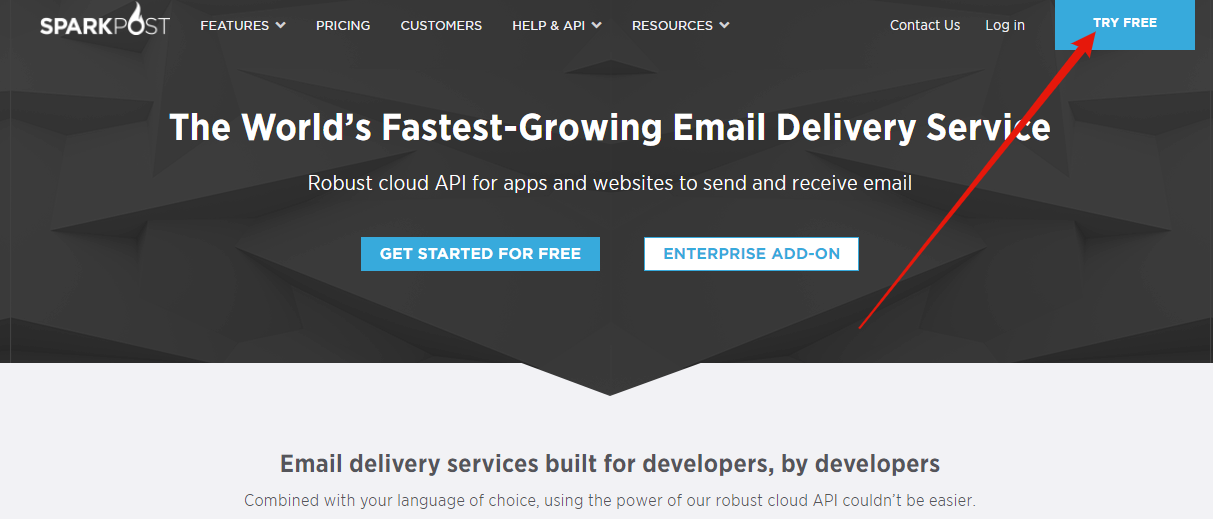
When you first visit https://www.sparkpost.com you will want to visit the big blue Try Now link in the upper right corner of the site.
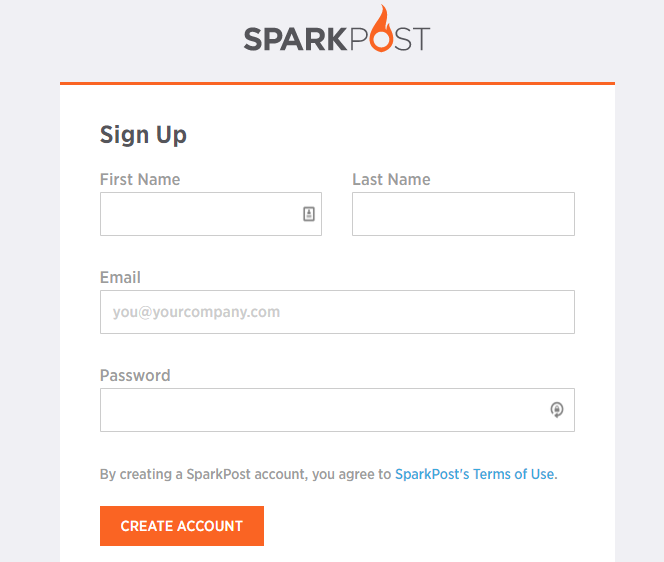
The only required pieces of information that SparkPost needs to set up your account is your Name, Email, and a Password that you provide (pick a good strong password).
Once you have confirmed the free account level with 100,000 emails per month, you are brought to the next step of Adding a Domain that you will use to send your transactional emails. Note that you may be offered the ability to enter your credit card information at this point, but that can also be done later if you need to increase the rate and amount of emails you are sending.
It is up to you what domain you use to send your transactional emails, but this also depends on your preference of setting of regular email as well. A good recommendation is to set your transactional SMTP emails to go through a subdomain that is different from your regular email. But again, the choice is yours. SparkPost has some excellent documentation that can walk you through some of those options.
UPDATE: For this post, I would recommend you setup your domain with SparkPost to look like your site yourdomain.com.
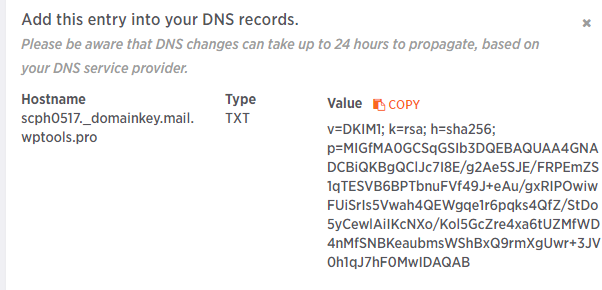
SparkPost will now provide you with instructions on how to add a TXT entry to your domain's DNS settings so that SparkPost will be able to send emails and provide verified DKIM records (to prove that you are the one sending the email and not someone trying to spoof the email). Note, there is nothing "private" about these settings. Anyone can look up anyone DNS records and see all these TXT records.
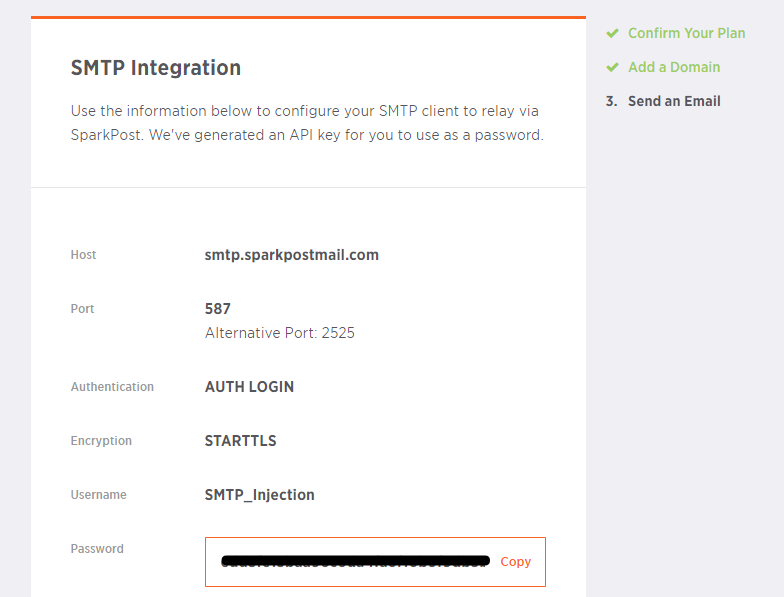
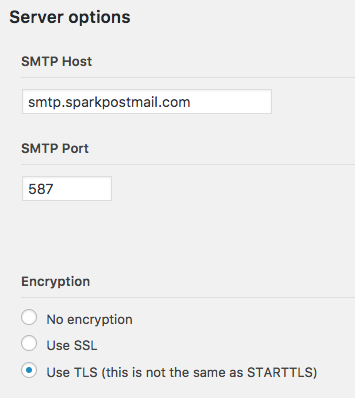
At this point, once the domain has had its DKIM settings verified, you will be able to setup your SMTP integration with your WordPress site. SparkPost will give you a generated API key as well as the SMTP connection details that can be used when setting up the SMTP Studio plugin.
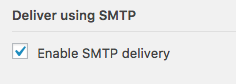
The above setting screen will be used to fill in the settings of the SMTP Studio plugin. Members of WPStudio.com can download the SMTP Studio plugin from their Account Area. Once activated, you can visit the plugin's settings in the WordPress Admin Dashboard at Settings -> SMTP Studio. Scroll down to the checkbox to enable SMTP delivery.
Set the SMTP server settings to look like the following:
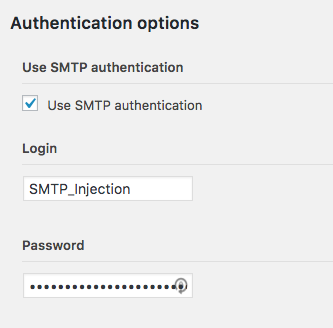
You will then add the authentication information that SparkPost had provided to you during the SMTP integration configuration stage that occurred when adding your first domain. A reminder that your settings will look different than these screenshots.
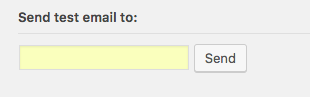
Once you have Saved these settings in the SMTP Studio settings area, you can now test send your first email.
Don't forget to enable HTML Email Templates in the SMTP Studio plugin if you want to be able to customize and brand all of these transactional emails that your site (or client's sites) are sending.
![]()
Congratulations. Your site is now fully configured to send all of it's transactional emails through an SMTP Relay Server at SparkPost. At this point, you can begin diving deeper into SparkPost to set up additional features like:
- bounced email domains
- tracking domains
- protecting your SparkPost account with two-factor authentication
- analyzing reports
- and much more.
SparkPost and the SMTP Studio plugin are excellent partners in providing a proven solution for offloading transactional emails from your hosting server to a separate SMTP server. I'd love to hear what SMTP service do you use for your sites in the comments below?